Centerboard Refurbishing
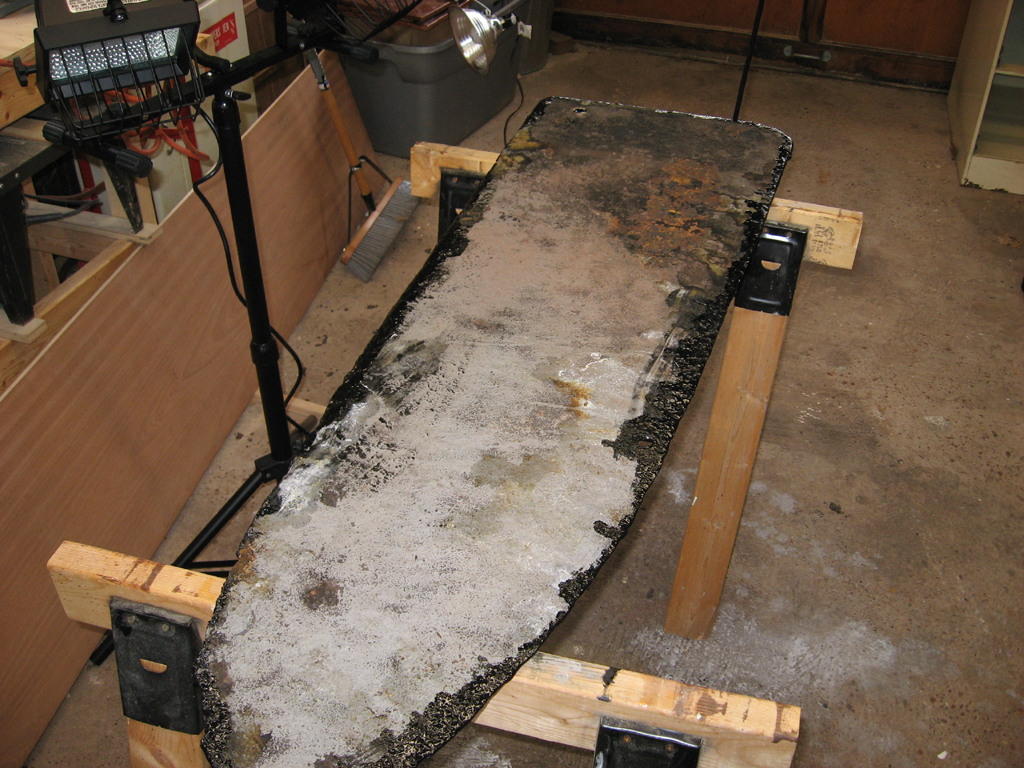
Once the rusty centerboard had been removed the boat, it was obvious it needed a lot of attention. There are several different ways to approach the task of refurbishing the centerboard depending on how you use your boat. Regardless of the finished product, when starting at the beginning of a centerboard refurbishing project, the first and foremost task is to get all the rust off and bring it down to bare iron. If there's just a little rust, perhaps grinding is the best method. For me, due to the thick layer of rust (about a 1/4" around the entire board), sandblasting was the best option. The first picture is a reminder of what it looked like when it came out of the boat. Yikes.
From here, you can do any number of things, again, depending on how you use your boat. Do you sail it in fresh water or salt? Do you keep it on a trailer or on a mooring? Do you use it primarily for racing or day-sailing/cruising? I keep my boat on a salt-water mooring, and although I primarily day-sail "Orion", I occasionally race her at the Nationals. Therefore, I chose the following steps: rust preventative paint, fairing with filler, coats of straight epoxy, then bottom paint.

Fellow Mariner owner John Hargrove recommended a rust preventative paint called "POR-15" to me, as he has had great success with it. Apparently, POR-15 actually adheres better to rust than it does to bare metal - in fact, they even sell a prep solution called "Metal Ready" to etch the surface of bare metal to improve POR-15's adhesion. Now, some folks don't actually use a rust-preventative paint at all - many simply coat the board with multiple layers of epoxy, and it's worked just fine. I decided to go with John's recommendation and get both the POR-15 and the Metal-Ready, since at least part of my centerboard is submerged at the mooring for six or seven months out of the year. I wanted to be darn sure that no rust was going to form for as long as I could possibly prevent it from happening.
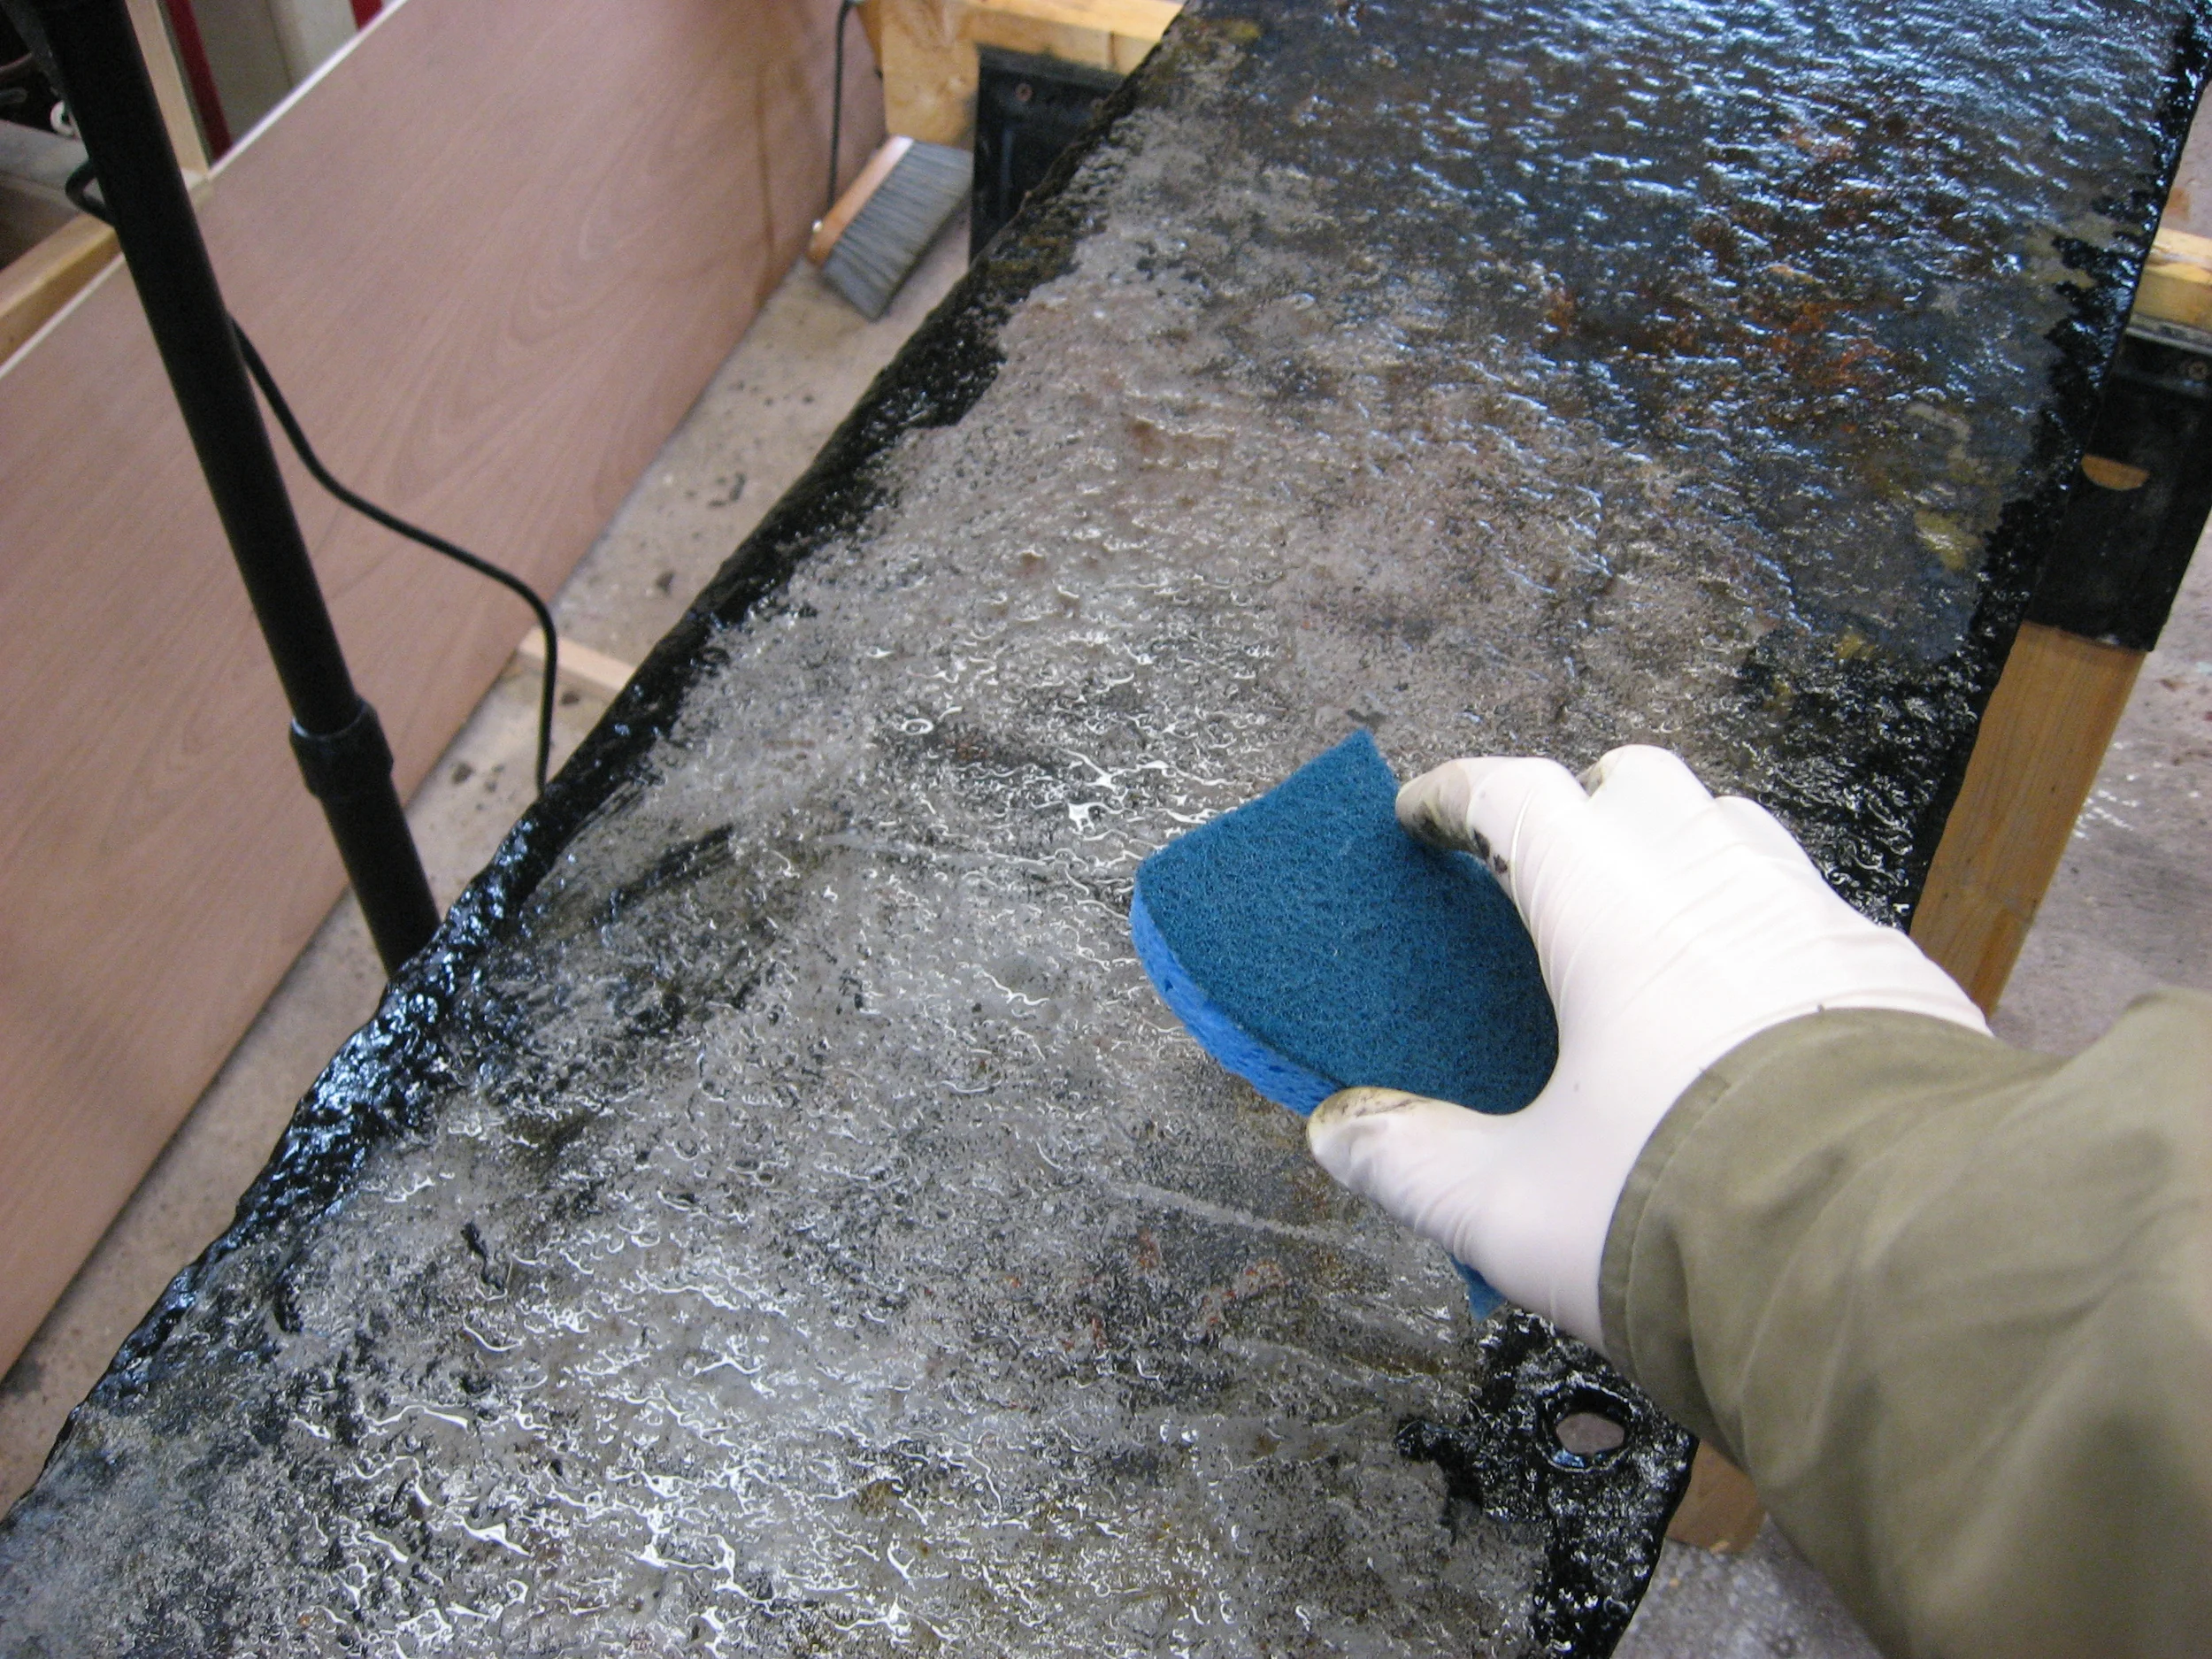
I had the board sandblasted by a local company for about $50, and I also knocked off a few remaining flakes of rust. (There's black paint around the edges in the first picture below because I actually already treated one side with POR-15 before I started taking pictures.) The third second picture shows me squirting Metal-Ready on the board. I left it on for about 20 minutes before rinsing it off with water and a sponge - that's an important step. It also must be completely dry before applying POR-15, so I ended up using a heat gun to accelerate the drying time. Once that was done, I started putting the POR-15 on with a regular chip brush (fifth picture). Be sure to read all the directions carefully. The consistency of POR-15 is very much like paint, and it worked out pretty well. I ended up putting three coats of it on the whole board, working on one side at a time, letting it dry, then flipping it over to do the other side. Be sure to scrub it with a 3M pad to scuff up the surface for subsequent coats.


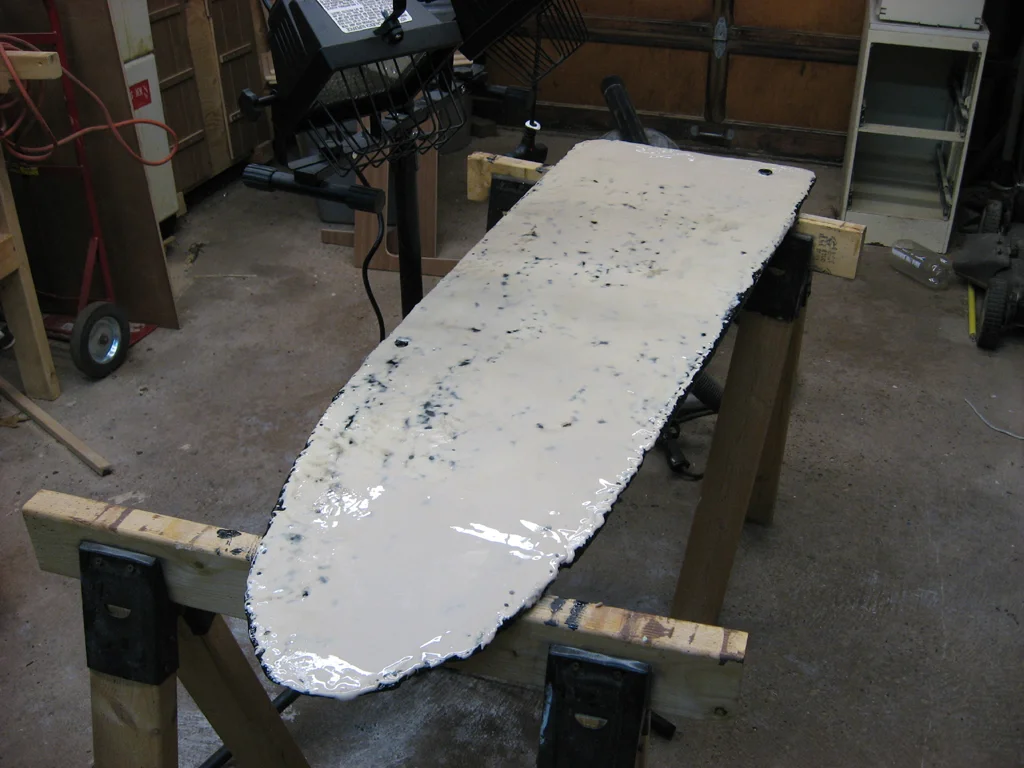
Here's the board finished with the three complete coats. It's better, but it's still damn ugly. Bumps and ridges everywhere - it needed to be faired. To do this, I used West System Epoxy (105 resin and 205 hardener) and 410 fairing filler. I mixed the resin and hardener first and put a coat of just that clear epoxy on first. I then mixed more 105 and 205 and added as much 410 as I needed to create a creamy peanut-butter-like consistency. I then poured it on the board and used a squeegee (also provided by West) to fair it over the surface, filling all the gaps and making it nice and smooth. If you have a really bad board like mine, it will take a few coats, so don't think it will all be done in one step. I ended up doing three coats (two coats just about did it all; I only mixed a small batch for my third coat to address some issues).
Some things to remember - be sure and put a coat of clear epoxy (105 and 205 only) between each fairing layer. Also, use sandpaper to scuff up each fairing layer after it's dried to knock off any high spots and create a good bond for the next coat.
Okay, here it is now with the fairing complete. Now it's starting to look a lot better! But, golly, something needs to be done about these edges. I used a technique first described on the old Mariner Class Association forums.
Here's how it goes. First picture: tape the wax paper all around the edges. Then flip it over and put the 105/205/410 mixture all around the edges, working it with your fingers outside of the wax paper. Pull the wax paper tight and tape it to the other side (second picture) so it won't go anywhere. Then let it dry, carefully remove the wax paper, and voila! A new edge that desperately needs sanding (third picture). The fourth picture shows a detail of how the epoxy really did take the shape of the wax paper's every crease and fold.


It became obvious that I used a lot more mixture for the edges than I really needed, and I ended up sanding off a lot of expensive epoxy and filler. But this is the final result after carefully sanding all around the edges and the sides of the board. The chips, dings and pieces that had broken off near the bottom edge of the board are gone, and all dents and gouges have been replaced by a nice, smooth surface. This is really looking great. Just to be on the safe side, I put three more coats on each side of straight epoxy (105/205) as an added barrier protection.
Finally, after washing off the blush from the cured epoxy and scuffing it up just a little, I put on two coats of Pettit Trinidad bottom paint #1877 - this is good stuff. It should certainly keep the slime away for at least a little while.
And that's it! Finally, I'm done with the centerboard. All that's needed now is to re-install it into the boat. This centerboard restoration project took a very long time, simply because I could only work on one side of the board at a time. Overall, I'm extremely happy with the way it turned out. What a difference!
After a number of years of use, I am happy to report everything has been holding up just fine. I had to do a repair when I smacked the bottom edge of the board very hard on some underwater rocks while sailing, but a re-application of POR-15, epoxy and bottom paint was all it needed.