
Eating on a small boat is not that big a deal - you just have to keep everything in your lap or right beside you, and drinks are always a bit of an issue if you don't have a dedicated holder or spot to put them in or on. Certainly, having a small cockpit table would make things more comfortable. Plus, it would be handy for any number of things while resting at anchor. It benefits any owner of a small boat to re-use existing items if possible, so I designed and made the cabin seat support to also be used as the cockpit table - see the Cabin Easy Chair page for some more details. It's also possible to use one of the wooden V-berth inserts as a table, although it doesn't have any lip around the edge to prevent things from spilling off of it.
I wanted something unobtrusive, preferably without four legs so no one would be able to kick it over accidentally. While some cockpit tables have been positioned aft to take advantage of the tiller, the seating area close to the cabin in a Mariner is much more comfortable. It provides higher seats for better leg-room and higher coamings for better back support. To get away from having four or even three legs, I decided to create a central support pole extending off the top of the centerboard trunk. It would have ample strength to support some weight and pressure, even on an edge (when cutting food with a knife, for example). Here's how I did it.


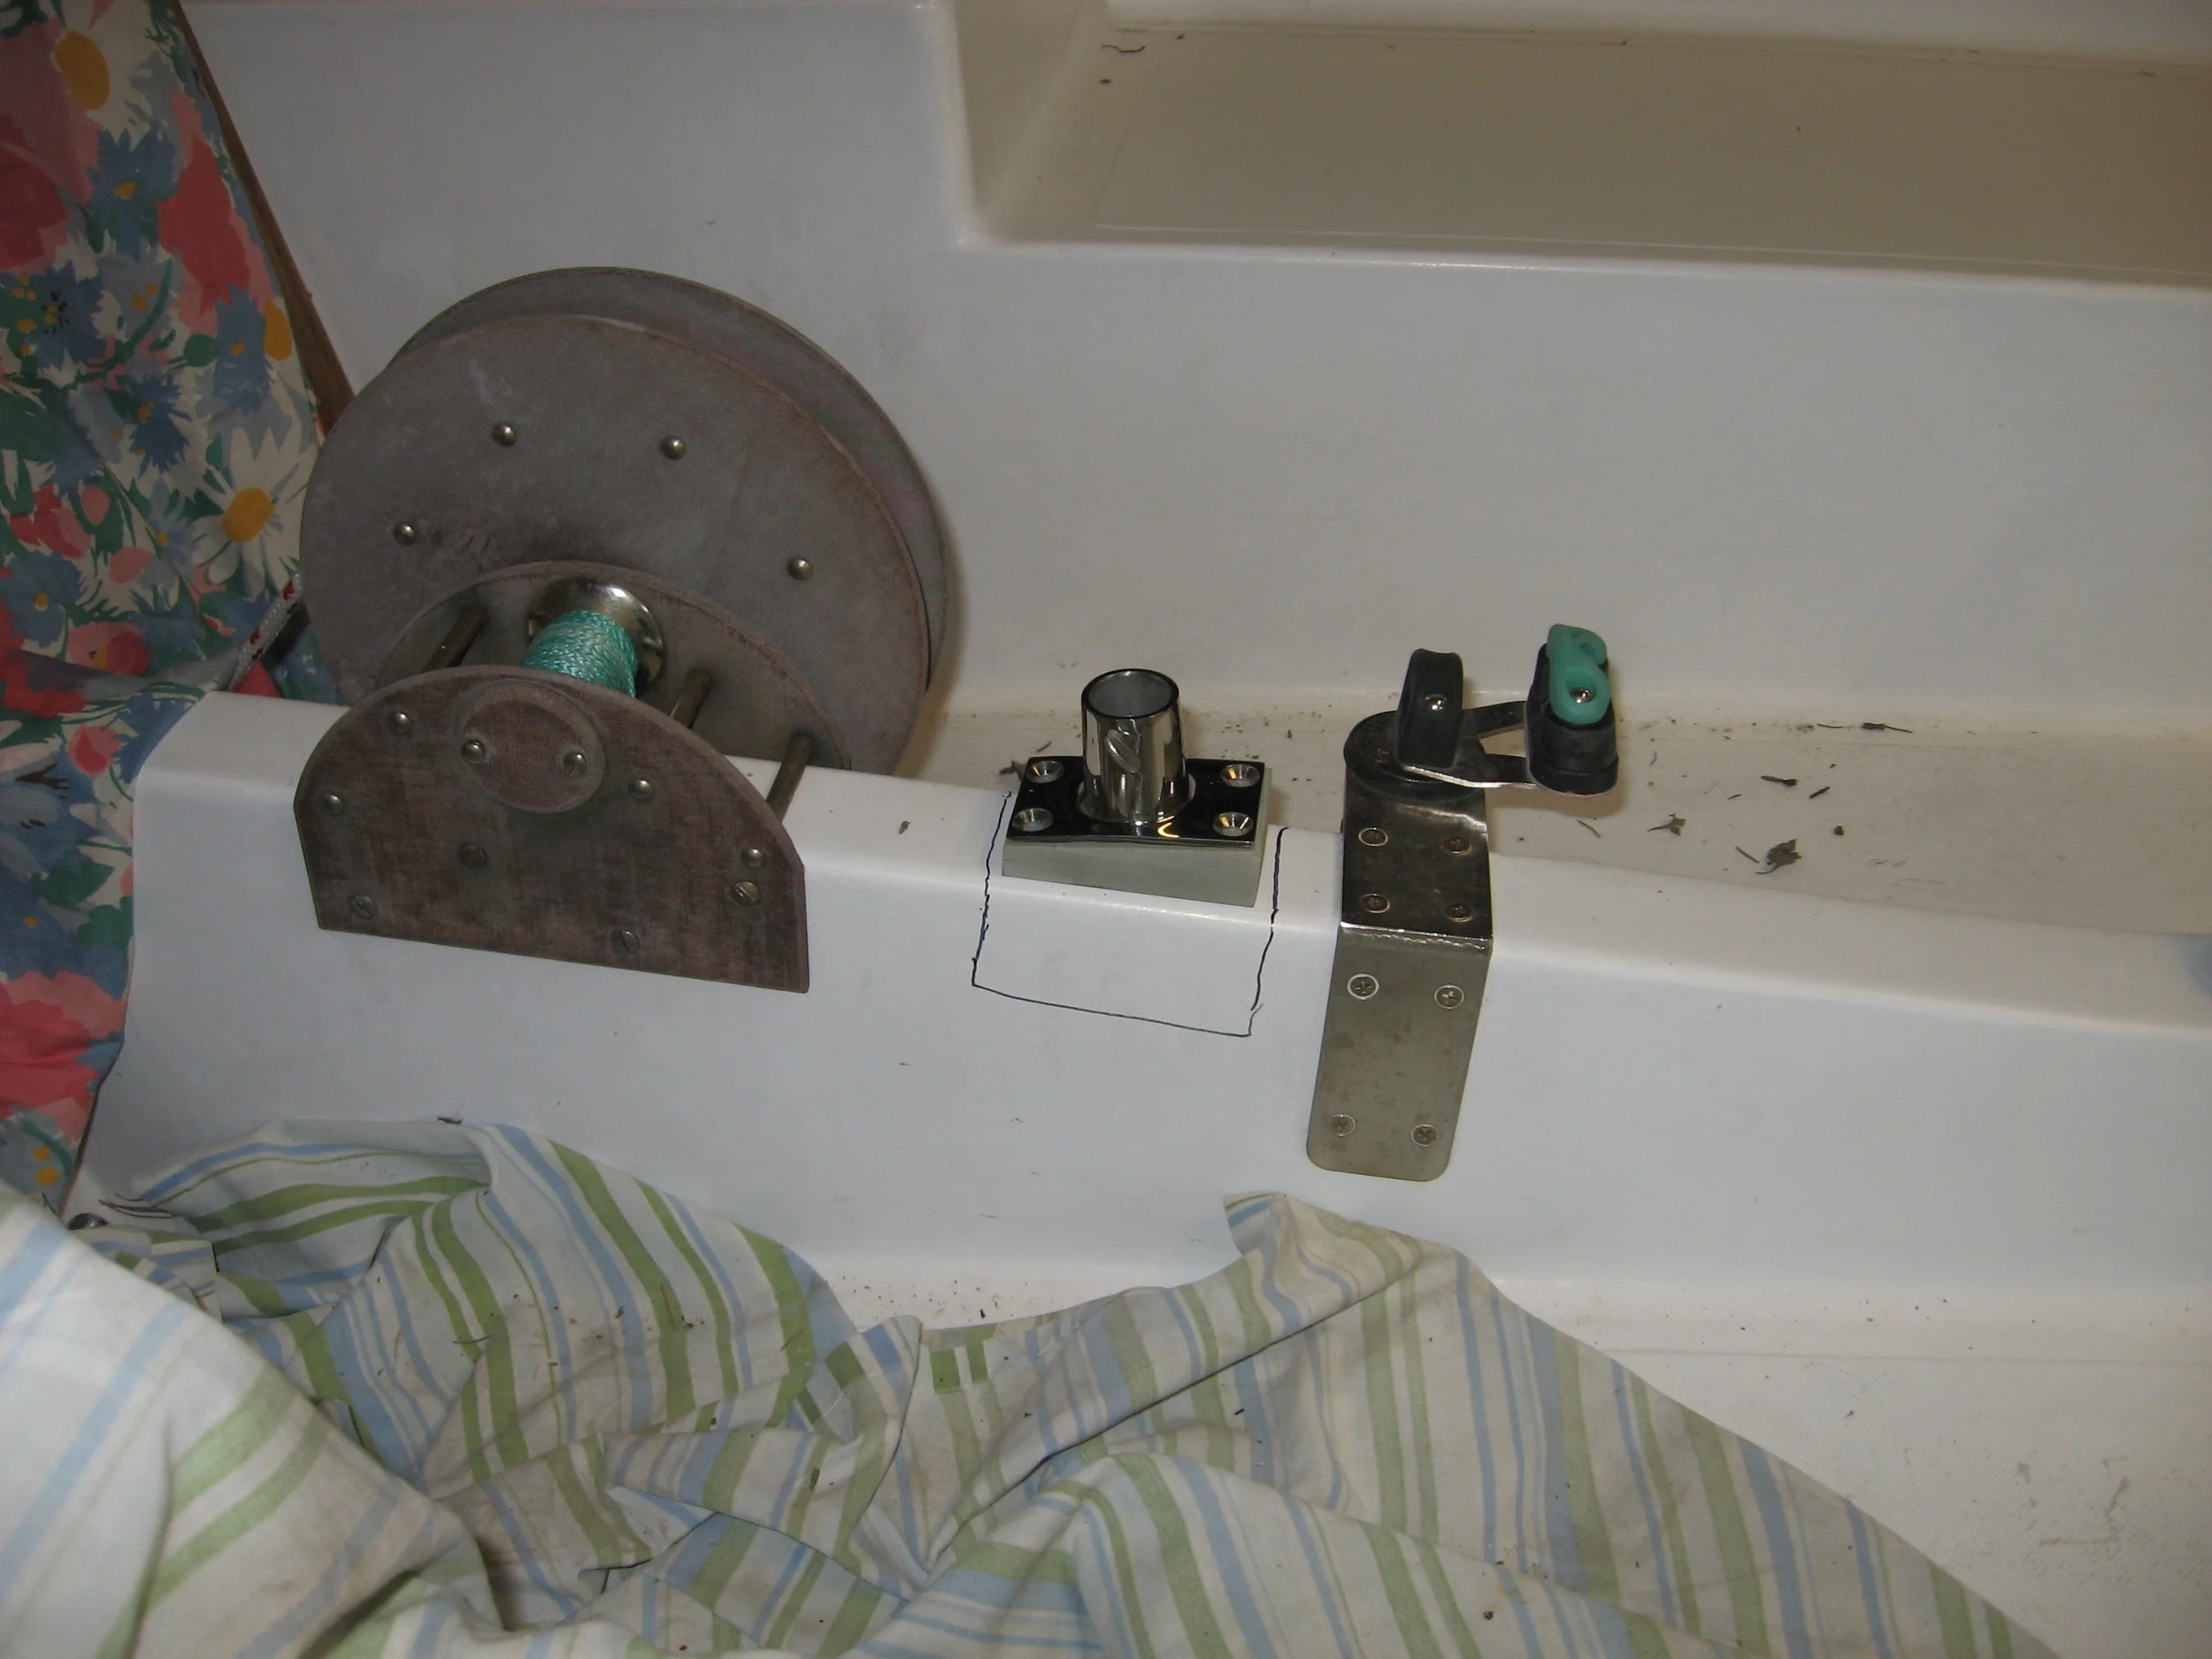
First, I bought two 1" rail fittings from West Marine - one with a round base for underneath the table, and one with a rectangular base which would fit perfectly on top of the centerboard trunk. While it's possible to buy a short length of 1" stainless-steel tubing for the pole, I just happened to have an old flagpole staff that fit right into the two rail fittings. I cut the pole to 15", an estimated height after sitting in the cockpit with a tape measure. Now, in order for the pole to fit snugly in the two sockets, I realized it would be a pain to adjust set screws every time. So, I re-tapped the set screw holes in the sockets for 1/4"-20 and used 1/4"-20 stainless steel thumb screws. The thumb screws can stay in the sockets at all times and provide a quick way of firmly tightening to the pole so it doesn't move.
Since the top of the centerboard trunk slants downward as it goes aft, it needed to be leveled, and there needed to be some kind of a base for the bottom socket to attach to without drilling into the top of the trunk itself. So, I first made sure the boat was level by putting a bubble level on the cockpit seat and then adjusting the trailer jack wheel until it was just right. I then placed the socket on the centerboard trunk, placed the level on top of that, then shimmed up the aft end until that was level. After making some careful measurements, taking into account the base of the socket, I detemined I needed a wedge with the dimensions outlined in the picture. This wedge could be made out of wood (with the risk of eventually rotting) or perhaps Star-Board material, but I opted to get carbon-fiber G10. This would allow me to drill and tap into it to attach the socket - hence the 1/2" minimum height of the wedge itself.
The next task was to attach the wedge to the top of the centerboard trunk. Fiberglassing it onto the top would provide the best stability without fear of ripping it off by accidentally knocking into the cockpit table. So, I marked on the trunk where I wanted the wedge/socket to go and marked down both sides, extending a few inches. I sanded the gelcoat off in that area so the fiberglass would attach properly. I took the wedge, coated the bottom with thickened epoxy (West System Six10) and firmly set it in place on the top, allowing epoxy to squeeze out a little which I then wiped away. I let this set for a couple days, although 24 hours did the trick.


After that, I used two 4"-wide lengths of fiberglass cloth, one cut a little shorter than the other, and epoxied them on. Once the fiberglass was cured, I trimmed the remaining fiberglass cloth using a sharp knife and sanded everything smooth. Using West System epoxy as a base coat over everything and then mixing the remainder of the epoxy with 410 fairing filler, I tried to smooth out the area as best I could. It was a little tough working with such a small area, and I had to do a lot of sanding and re-fairing before it came out half-way decent. But once I was done, I sealed it with several coats of epoxy, painted over it, and it didn't look half bad.


The final steps were to drill and tap the holes for the base. Since the shortest depth of the wedge was half an inch, I didn't want to drill any deeper than that. Once that was done, I attached the base and tried it out. The height of the pole was just right, and it fit perfectly in the two sockets. The table can be rotated so you can either eat off of it a little easier or have a little more room trying to get into the cabin. The thumb screws on each socket really help to stabilize the pole and thus the table itself.
When the table isn't in use, you can take the pole and attach it lengthwise to the underside of the table using a plastic Beckson 1" clip. It keeps the pole with the table at all times, so the chance of it getting misplaced or lost is pretty remote. Simply screw the clip to the underside of the table - I put mine as close to the socket as I could so there wouldn't be any chance of me scratching the tops of my knees on it. The pole is just short enough that it won't interfere with the wooden brackets in the cabin when it is being used as a seat again.
This was a fun project, and I have ended up using the cockpit table more than I thought I would. It makes cruising that much more comfortable and enjoyable.